Kling AI Tutorial: Your First Cinematic Clip in 60 Seconds
Summary
Kling AI is a video generation tool built by Kuaishou. Kling 3.0 (released February 2026) produces clips up to 15 seconds at native 4K, with two modes: text-to-video and image-to-video. The prompt formula that consistently works: subject plus action plus setting plus camera direction. Shorter clips deliver cleaner motion than longer ones. The free tier gives 66 monthly credits. This tutorial covers the full pipeline from first prompt to finished clip.
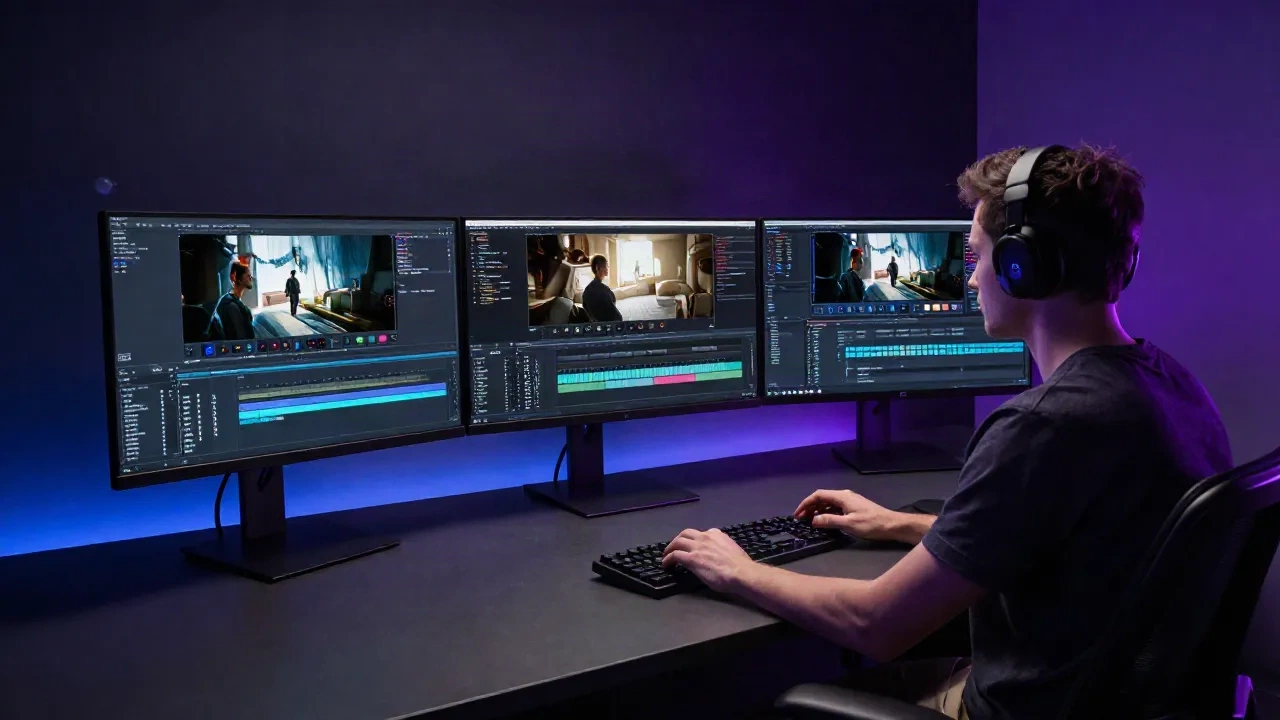
This Kling AI tutorial covers exactly what you need to go from zero to a usable clip. I had 8 product clips to deliver in 3 days for a SaaS client with no budget for a videographer. I ran every shot through Kling AI 3.0. Six made it into the final cut. Here is exactly how the tool works and which settings actually move the needle.
Kling AI (by Kuaishou) generates short video clips from a text description or a still image. Version 3.0 shipped in February 2026 and competes directly with Sora and Veo 3.1 for output quality. Free tier, generous enough to produce real content before you commit to a paid plan.
What Kling AI Produces in Your First Session
Open klingai.com, create an account with your email or Google login. New accounts receive 66 free monthly credits. One 5-second clip at 720p costs 6 credits. You have enough to run roughly 10 test generations before spending anything.
The workspace is clean: a prompt box in the center, mode selection on the left (text or image), parameters on the right (resolution, duration, aspect ratio). There is no onboarding wizard, no tutorial modal. You type a prompt and hit generate.
First output arrives in under 60 seconds on the free tier during off-peak hours. During peak hours, queue times can stretch to 3-4 minutes. Plan accordingly.
Kling 3.0 vs Earlier Versions: Two Things That Changed
Kling 3.0 introduced two capabilities that matter for production workflows.
Native audio generation. Previous versions produced silent clips you had to score manually in post. Kling 3.0 generates synchronized audio alongside the video. On documentary-style clips with ambient sound, the sync holds. On dialogue-heavy shots, results are inconsistent -- test before relying on it.
The Omni variant. Kling 3.0 ships in two flavors: Turbo (fast, lower cost, draft-grade output) and Omni (maximum quality, 4K resolution, cinematic motion control). Use Turbo for ideation and iteration. Switch to Omni when you are happy with the shot and need a deliverable.
Clip duration also stretched. Kling 3.0 handles up to 15 seconds in a single generation. That said, the clean-motion rate at 5 seconds is roughly 85% of outputs. At 10 seconds, it drops to around 55%. The longer the clip, the more frames the model has to keep coherent. Keep shots short and chain them in post if you need sequence length.
Text-to-Video: The Prompt Formula That Consistently Works
Most beginner errors come from describing a still image instead of an event. Kling needs to know what changes, not just what exists.
The formula that works across production use cases answers six questions in one sentence:
Who or what is in frame (subject)
What action or change happens (motion)
Where the scene takes place (setting)
How the camera moves (camera direction)
When each beat occurs in the clip (timing, optional for short shots)
What must stay stable (constraints)
A prompt like "A woman sits at a cafe table" produces a static image dressed up as a video. A prompt like "A woman at a sunlit Paris cafe lifts an espresso cup to her lips, slow dolly-in from mid-shot to close-up, natural bokeh, golden hour" gives the model motion, camera movement, and a mood target.
One specific finding: adding a single camera instruction lifts perceived quality more than piling on adjectives. "Slow push-in" outperforms three lines of aesthetic descriptors. Test it on your next prompt.
Skip the negative prompts approach that many tutorials recommend. Vague negatives like "no artifacts" or "no distortion" do not help the model. Concrete constraints work instead: "feet remain planted on ground" or "cup stays in left hand throughout."
Image-to-Video: When Your Still Frame Does the Heavy Lifting
Text-to-video is fastest when the shot composition is not locked. Image-to-video is the right mode when the visual work is already done.
The workflow is: generate a high-quality still (with Flux 2, Midjourney, or any image generator you trust), then use that image as the starting frame in Kling. From one approved still, you can generate 4-6 video variations with different camera movements in under 10 minutes. The subject stays consistent because the model starts from a fixed visual reference.
This is the approach that saves the most time on product content. You solve the expensive creative decisions (lighting, composition, color) at the still-image stage, then iterate on motion without reshooting.
The Motion Brush tool is also available in image-to-video mode. You draw over specific areas of the still and define the direction of motion. Useful for animating a curtain, rippling water, or blowing hair without the whole frame moving. The precision is limited -- treat it as a direction hint, not a frame-accurate animation tool.
Camera Control Settings: The Single Lever That Lifts Quality
Kling AI offers camera movement controls in its settings panel: pan left/right, tilt up/down, zoom in/out, dolly push/pull, and orbital rotation. These are available in both text-to-video and image-to-video modes.
The moves that consistently read as cinematic in outputs:
Slow dolly-in (push toward the subject) for revealing emotion or detail
Orbit left or right for product shots where you want the object to appear three-dimensional
Static camera with subject motion for intimate scenes -- no camera drift, all motion from the subject
Avoid requesting multiple camera moves in one clip. The model blends them and the result is a drifting, unclear motion that reads as a generation artifact. One move per shot. Chain shots in your editor if you need coverage.
The "creativity" slider affects how far the model interprets your prompt beyond the literal instruction. Dial it low (0-30%) for product work where fidelity to the source image matters. Raise it (60-80%) when you want the model to extrapolate atmosphere from a loose prompt.
What Breaks in Kling AI (and the Workarounds)
Hands and fingers remain a weak point in 2026. Even in Kling 3.0 Omni, close-ups of hands performing fine motor tasks -- typing, writing, handling small objects -- produce visible deformation at least half the time. The workaround: keep hands out of close-up frame. Use a mid-shot or wider angle when hands appear.
Crowded scenes lose subject identity. With more than two or three distinct subjects, the model starts reassigning visual characteristics between people. A crowd of six becomes a blur of merged faces by the fourth second. For group shots, keep the frame at three subjects or fewer and use a static or slow camera to reduce model confusion.
Long clips drift. At 10-15 seconds, background consistency erodes and lighting shifts mid-clip for no narrative reason. Cut your ambitions to 5-7 seconds per generation and extend the edit in post. The output quality is noticeably better and the clip still serves as broadcast-ready B-roll.
Building a Clip-to-Clip Workflow That Scales
Here is the production sequence I landed on after running roughly 200 Kling generations across three client projects.
Step 1: Script the visual sequence first. Break the video into shots -- not by script section but by what the camera sees. Each shot gets one subject, one motion, one camera direction.
Step 2: Generate reference stills for any shots that need character or product consistency. One approved still per subject anchors the image-to-video generations.
Step 3: Run text-to-video for scene-setting shots where composition is flexible (establishing shots, ambience, transitions). Use image-to-video for any shot where a specific face, object, or product needs to appear consistently.
Step 4: Batch Turbo generations first for the whole shot list. Review for structural failures in this order: identity consistency first, then contact physics (do feet stay on ground, does the hand hold the cup), then continuity, then mood. Fix one variable per iteration.
Step 5: Promote the approved shots to Omni for final quality. This two-pass approach cuts cost significantly -- Omni credits cost more, and you only spend them on takes that already passed QC.
On a 90-second finished video, this workflow produces a first cut in 2-3 hours. Compare that to a half-day of coordinating a shoot with talent, location, and equipment.
Is Kling AI Worth the Paid Plan?
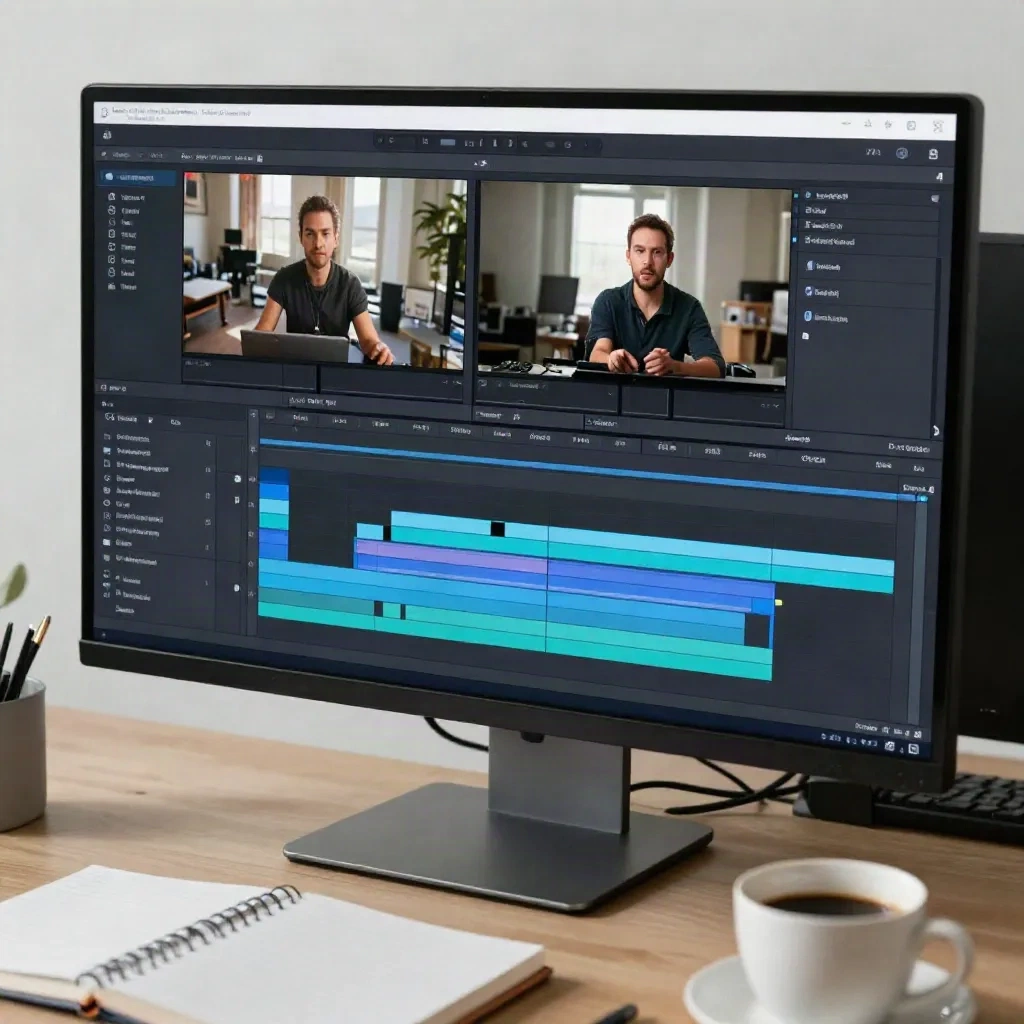
The free tier (66 credits/month) is enough to evaluate the tool and produce a small clip set. It is not enough for regular content output.
The Pro plan at roughly $10-15/month gives substantially more credits and priority queue access. For a solo creator publishing 2-4 videos per month, one paid plan covers the generation budget with room to spare.
For teams producing at higher volume, Kling also offers an API with per-clip pricing. The per-second rate at 720p without audio runs to 6 credits. At 1080p with native audio, 12 credits. Map your shot count before choosing a plan tier.
Compared to Runway and Pika, Kling's motion quality on organic subjects (hair, fabric, water) is stronger for the price. HeyGen remains the tool of choice if your use case is avatar talking-head video -- Kling does not generate avatar-to-script video and is not trying to. These are different tools with different jobs.
The next time you have a script ready and no time for a shoot, run the first 3 shots through Kling Turbo. The pipeline takes less than 5 minutes to set up. See what comes back before you decide.